 Канал:

Thanks For watching the Video.
If you liked what you saw please subscribe and hit that like button.
Hit that bell icon to be notified when my next video is uploaded so you dont miss out.
You can find the connectors that I used to make the console here.
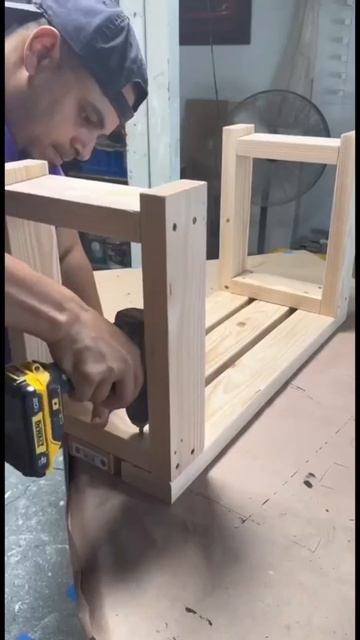
The cut directions are as follows. Start with a single sheet of 4x8 plywood.
Cut down 3 long pieces of 16x 8 lengths.
Set aside one of them this will be the base.
From the other two you will cut down 16 x 5 lengths.
These will be your top and middle long shelves.
From those off cuts you will cut one 16x24 as your left side vertical support Three 16x12 as your bottom shelf support and two 16x12 as your top shelf support.
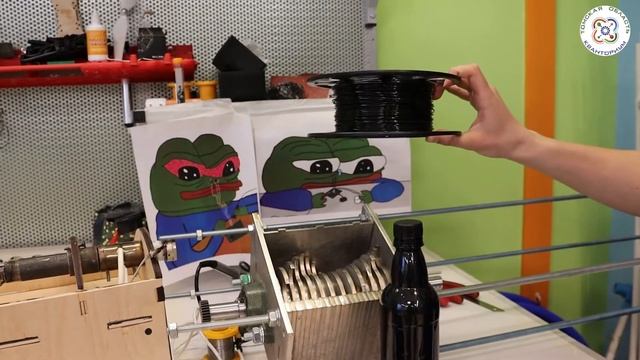
In total you will need 24 sets of connectors.
Hardware can be found here.
M5 x40mm Socket Head x 2
M5 Hex Nut
Tools Used
Festool TS-75
Festool Tracks used
Tough Built Saw Horse
Simple Finish
Источник: rutube.ru
⇒Расскажите об этом видео DIY TV stand and console with 3D Printed Connectors and Oak Plywood, своим друзьям в социальных сетях.
Ссылка на страницу с видео:
HTML-ссылка на страницу с видео:
Код для вставки плеера:Мимо ка$$ы Благотворительный концерт.... - онлайн
Панорамное Видео 360 VR 4K для очков ... - онлайн
КАК ПОЛУЧИТЬ РОБУКСЫ БЕСПЛАТНО В 2020 ГОДУ? ЧИТ НА 100М+ РОБУКСОВ? ...
Тима Белорусских - Мокрые кроссы (Кар... - онлайн
ЧЕЛЛЕНДЖ. НАСТОЯЩЕЕ VS. ШОКОЛАДНОЕ || Смешные пранки от 123 GO! чел...